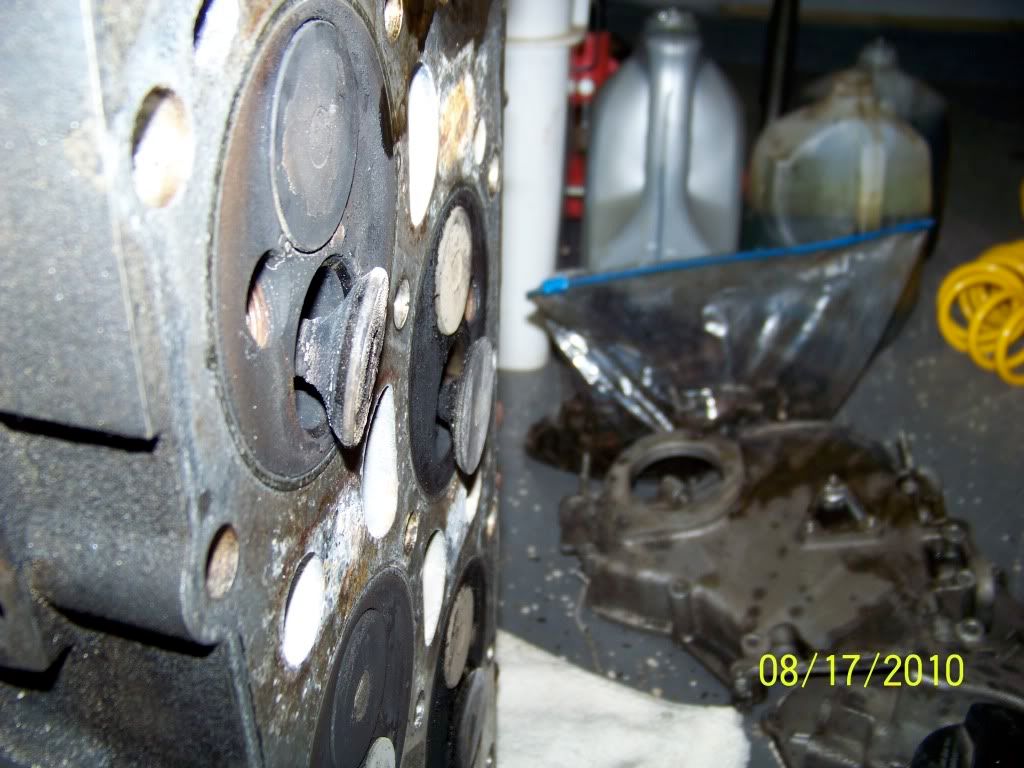
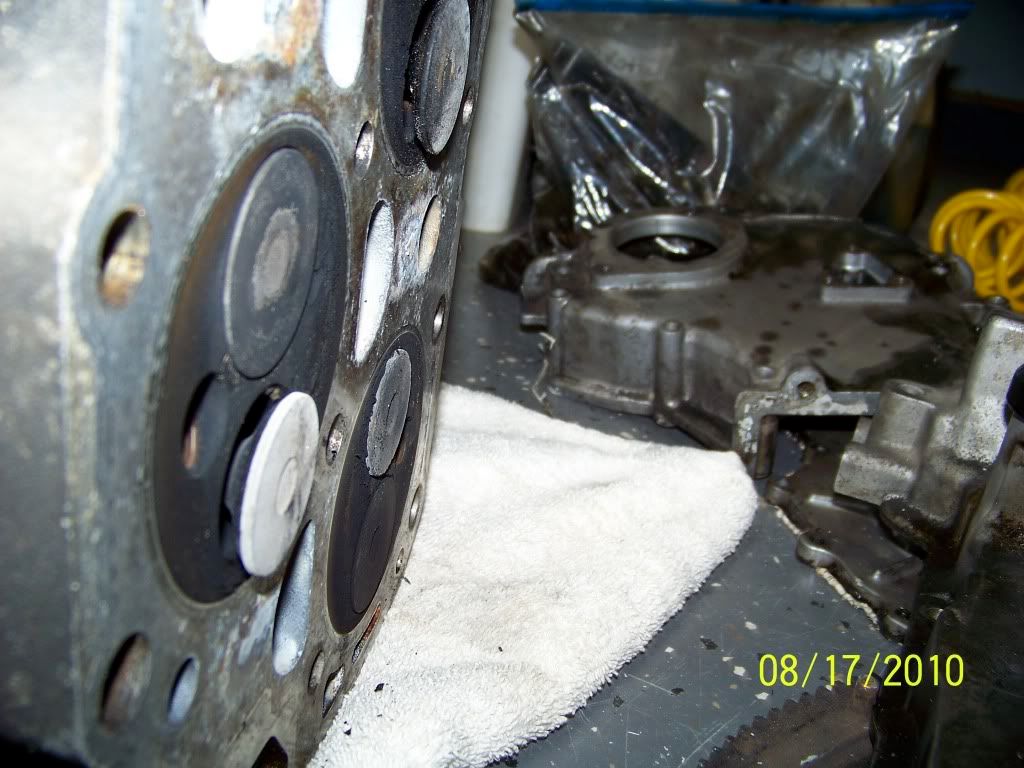
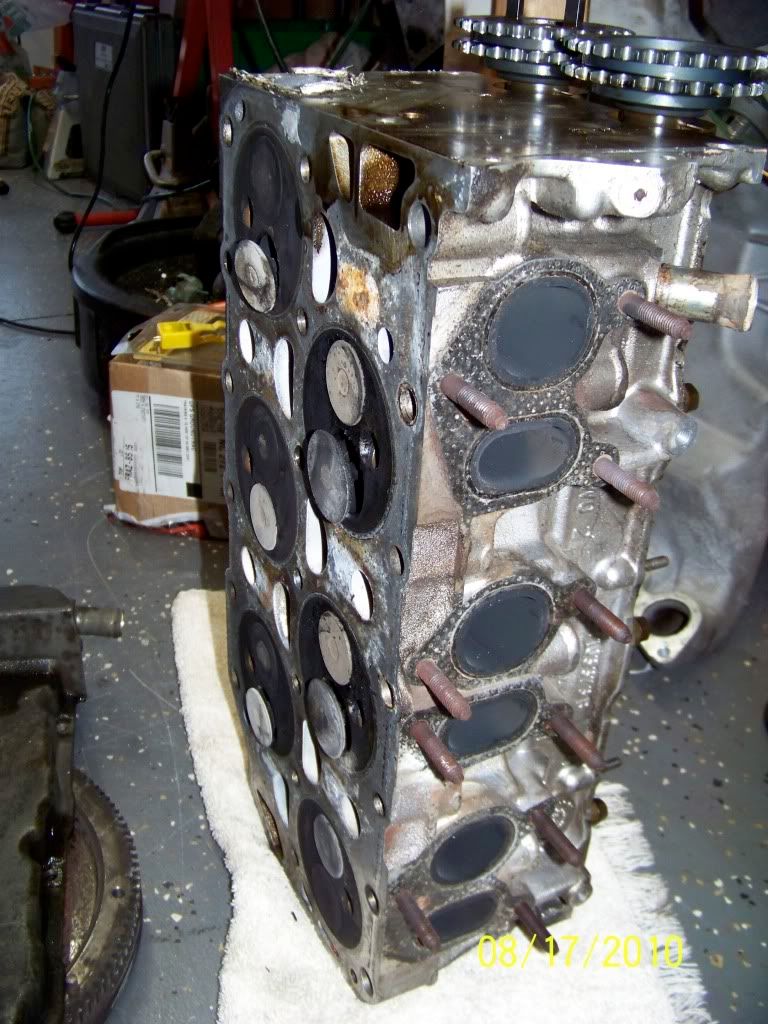
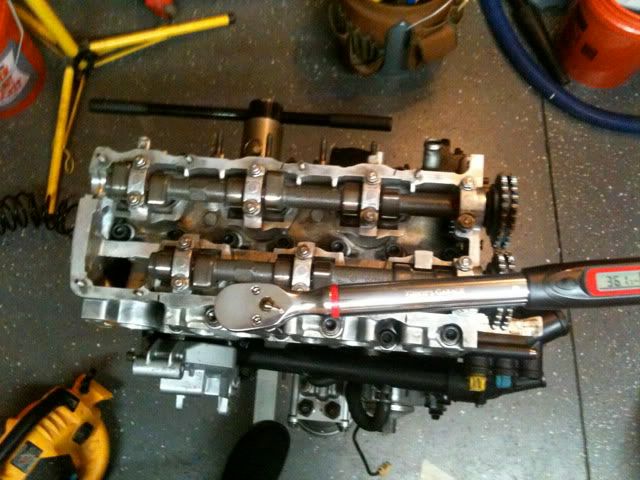
One step forward two steps back. That pretty much summed up last nights work on the engine. I was able to get the head bolted on and torqued down to spec and bolt up the thermostat housing. Just to be safe I double checked to make sure the timing was set correctly at the crank, intermediate sprocket, and the cams. Looks like I was about a half tooth off between the crank and the intermediate sprocket good thing I double checked because I found one of the timing chain guides was cracked, so it' got to be replaced... add it to the list of parts to be ordered.
PIc of the cracked timing chain guide.
Here's a pic of my new digital torque wrench... THANKS DAD!!!
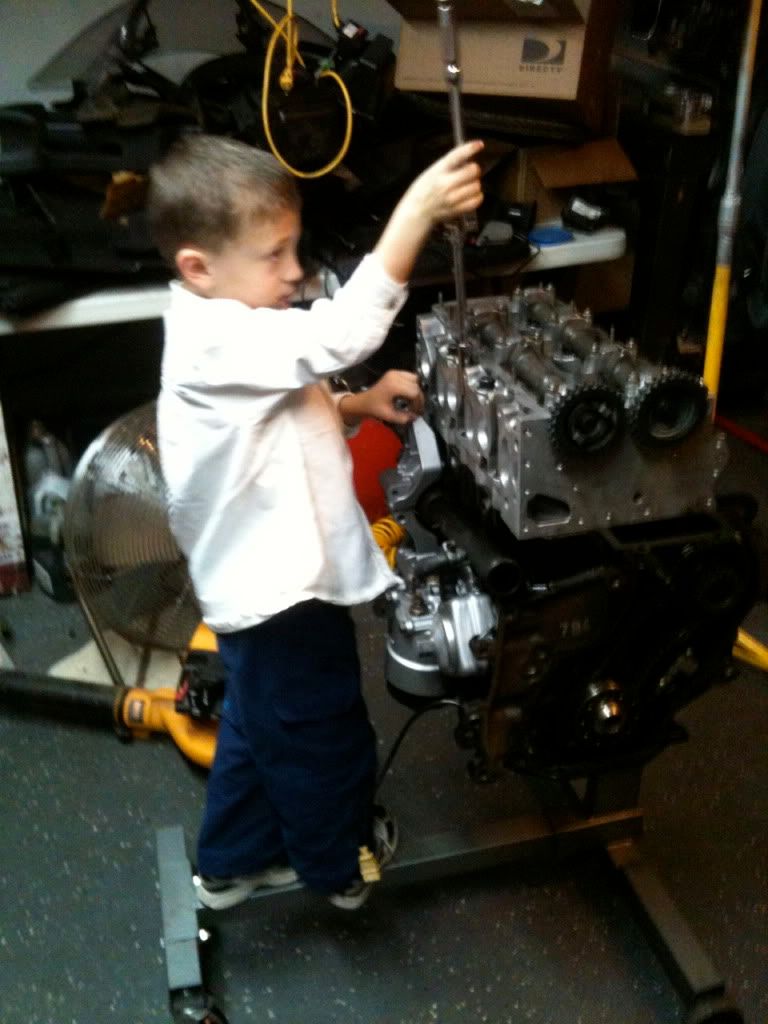
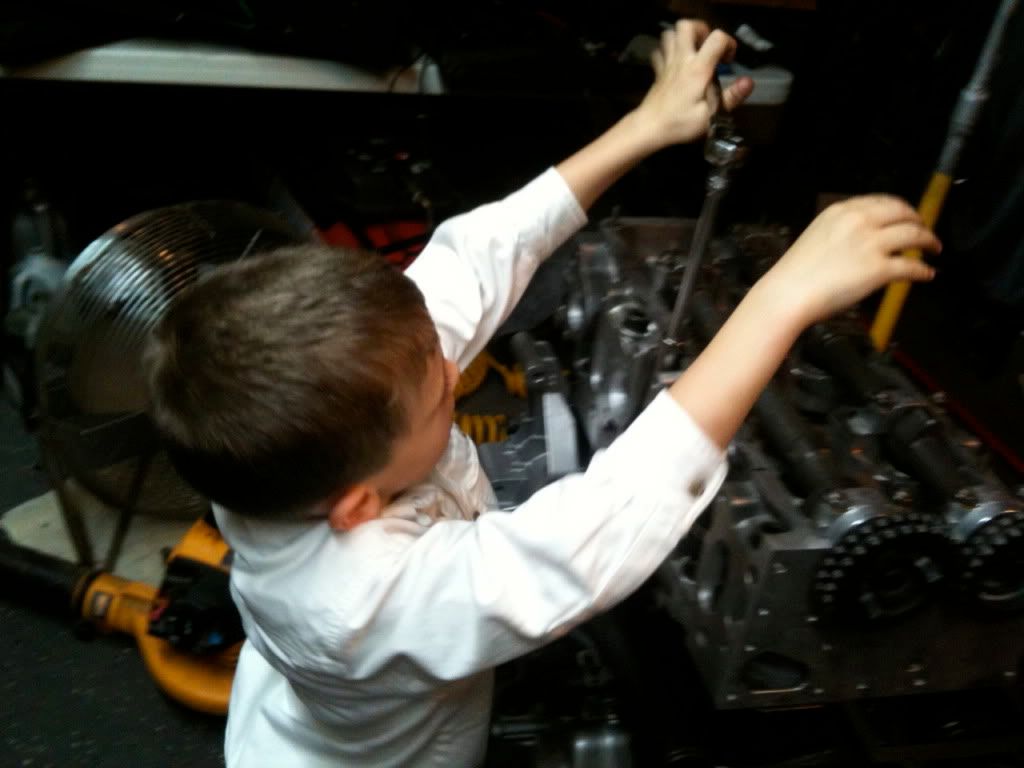
And here's a pic of my little helper hand tightening the head bolts
92 VW Corrado VR6 Build
This is my blog to track and share my progress though my first VW build
Thursday, November 11, 2010
Tuesday, November 2, 2010
Day 9 VR6 Engine Build - Engine Head
I picked up the head from the machine shop a few weeks ago hadn't had too much time to really do anything on the engine lately. This past weekend I was able to pick up where I left off. The only thing left to do was gasket match the head itself. Ideally I would have liked to do that before the new valves and guides were in, but it wasn't an option so I just had to take extra precautions when porting the runners. I unwrapped the head from it's plastic bag and used newspaper and shop rags to shove down in the head to prevent aluminum shavings from getting past the valves and guides. I taped of the remaining open areas of the head as not to get any debris in the head.
This is the intake side, not too much material needs to be removed here. You can see the scribe marks of the gasket.
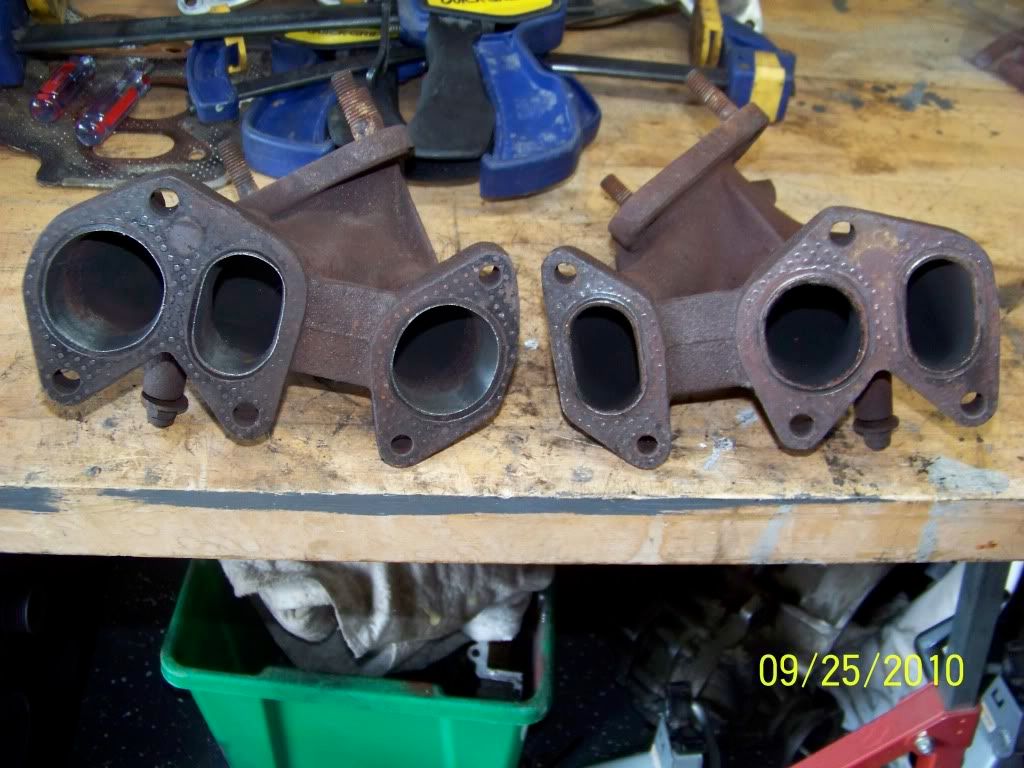
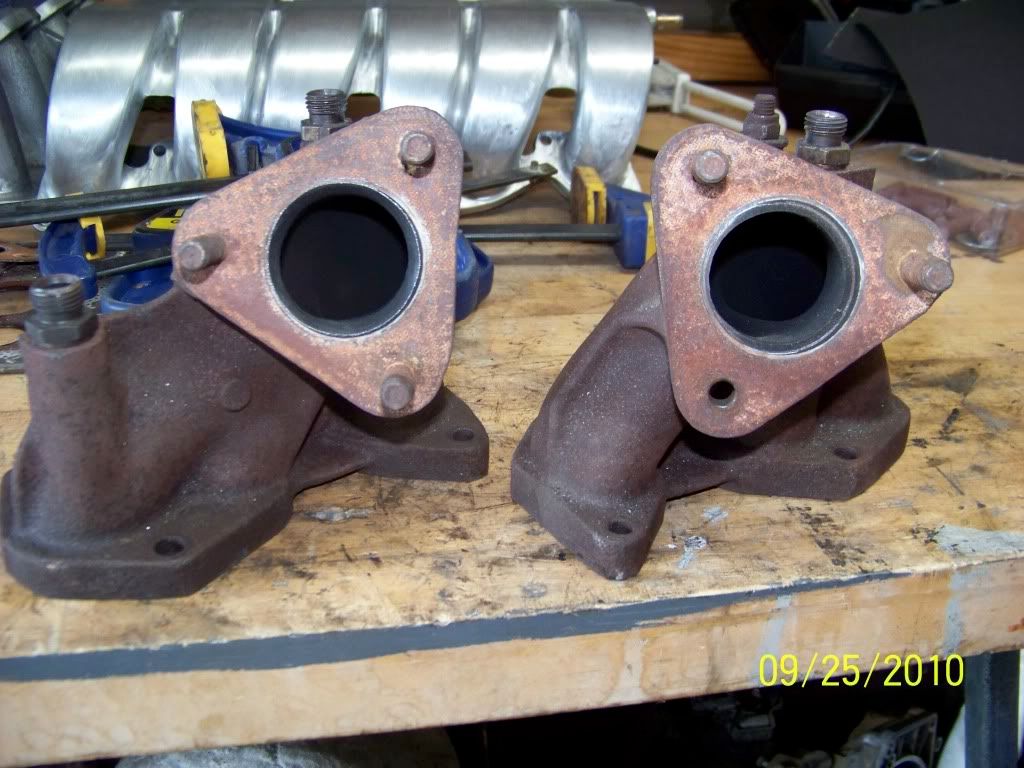
Here is the exhaust side, there is a considerable amount of material that needs to be removed on this side of the head
With the head ported to match the intake and exhaust manifolds the engine should breath considerably better maybe I even gained a few ponies. I also installed the new head gasket with a new MK4 metal style it should increase compression just a bit and add a couple horse power. The metal gasket was a no brainer since I needed to replace the old one anyway, its only a few dollars more than a standard OE gasket made from felt or paper.
Exhaust side
Intake side or front of the engine
Cleaned any build up from inside each cylinder
Next should be setting the timing....
Day 8 VR6 Engine Rebuild - Accessories
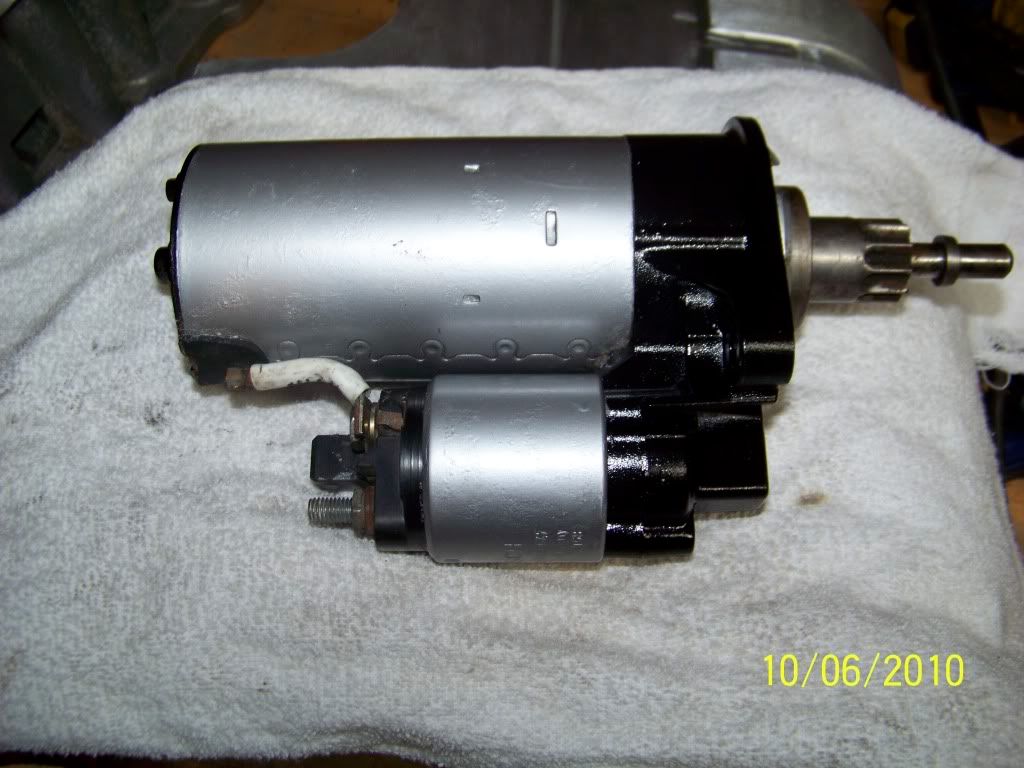
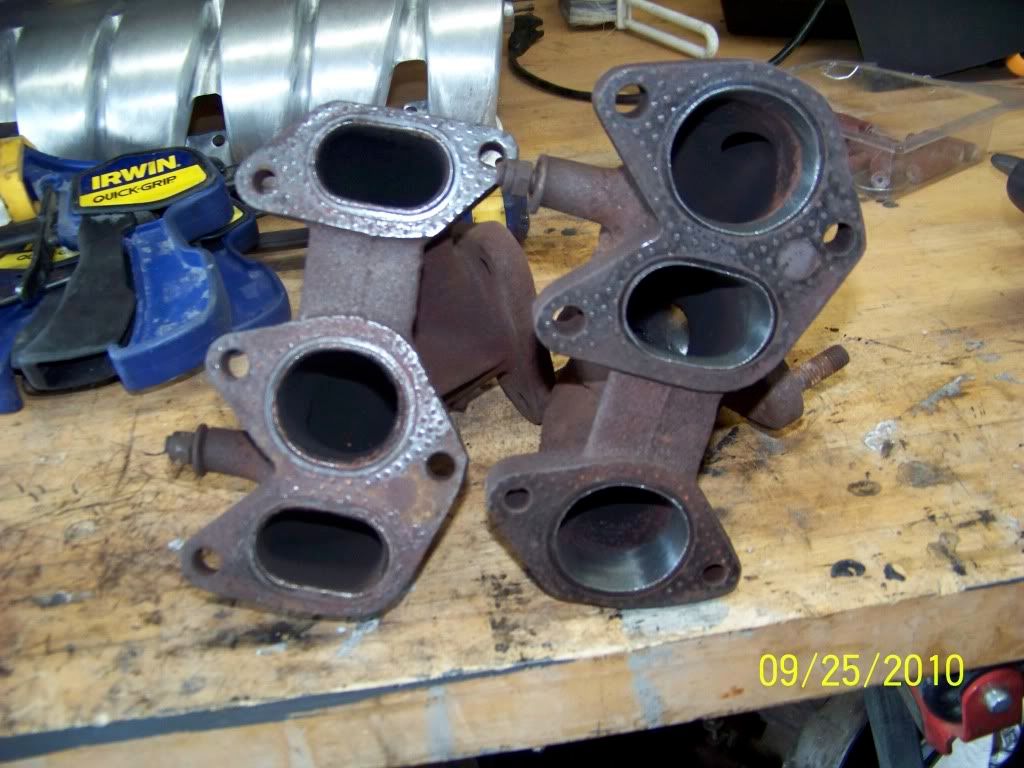
While the head is at the machine shop getting rebuilt I thought I would take the time to clean up a couple of the accessories and gasket match the exhaust manifolds. I took the starter and the alternator to Napa to have them tested. Turns out the starter is good, but the altinator is bad (I have another to get tested) , but will probably be cheaper for me to get this one rebuilt than buy a remanned one.
Repainted the good starter
One side done, one side to go.
Repainted the good starter
One side done, one side to go.
Sunday, September 12, 2010
Day 7 VR6 Engine Rebuild - Block
Got the new oil pickup installed, and gave a spare oil pan I had a few love taps with the 'ol ball peen hammer to knock it back into shape, prepped and painted it, then installed it.
Did a lot of cleaning today of a lot of the old parts. Cleaned the accessory brackets, oil cooler, oil filter housing, and timing chain covers (not pictured). Then gave all those parts a fresh coat of paint with some high temp engine enamel. I also took a wire brush wheel in my electric drill and cleaned all the bolts that will be seen for all those parts. No sense in taking all this time to make everything look nice and have the bolts look like crap.
This is just a spare head I threw on for mock up. I am still waiting on a call from the machine shop.
Saturday, September 11, 2010
Day 6 VR6 Engine Tear Down - Block
Been a couple weeks since last update on the car. The head is still at the machine shop. It wasn't as bad as I'm sure it could have been, but I guess it could always be worse than it is... The head will need two new intake and two new exhaust valves as well as new exhaust guides, and all seals. From talking with the owner every head that leaves his shop gets a three angle valve job standard so that's good.
Last week Vinny and I prepped the block for painting. Both boys came with me for a trip to Napa and Lukey picked out the paint. Good thing he chose black because that's what we were getting anyway.
Yesterday I discovered some disturbing things... I had to reposition the block on the engine stand so it could be rotated. I removed the already dented oil pan to find the oil pick up bashed in pretty good and a hard piece of something plastic at the screen of the pickup... Not good.
When I was rotating the engine on the stand I heard something rattle around in there; I found this piece of broken valve retainer... Also not good.
I had a spare oil pick up so I removed the old one only to find more damage; one of the legs used to bolt the pickup to the block was broken all the way trough... the hits just keep on coming. But these things won't cost me any money in parts since I had spares.
The spare oil pick
Still working on polishing the intake manifold
Thursday, August 19, 2010
Day 5 VR6 Engine Tear Down - Update
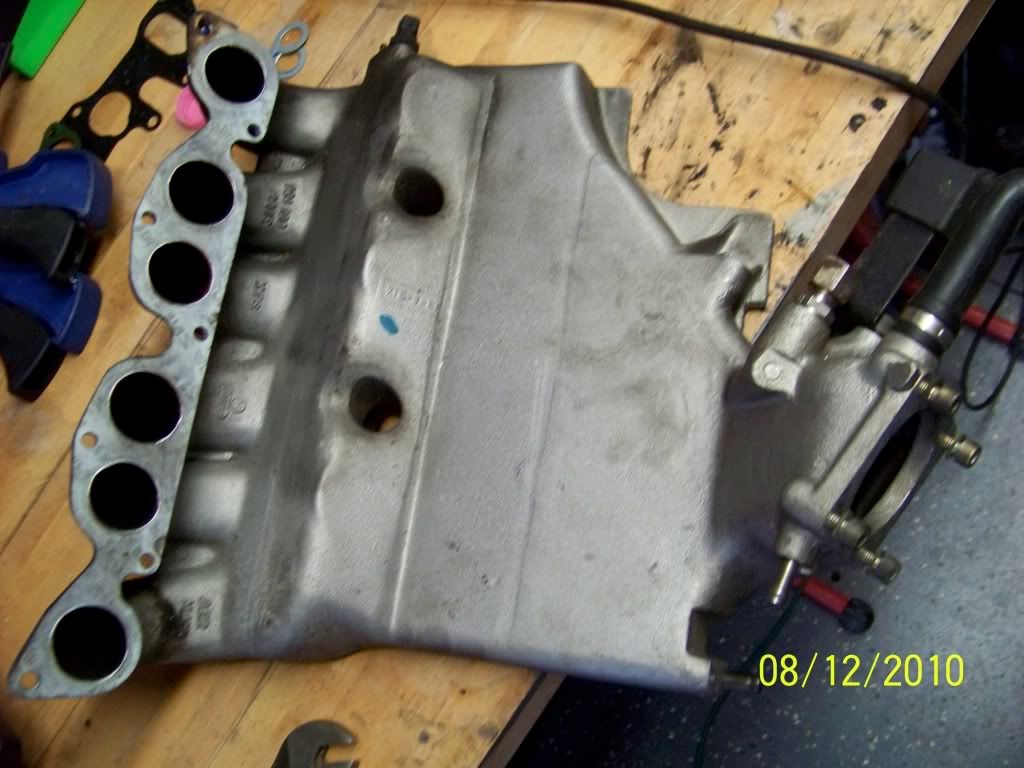
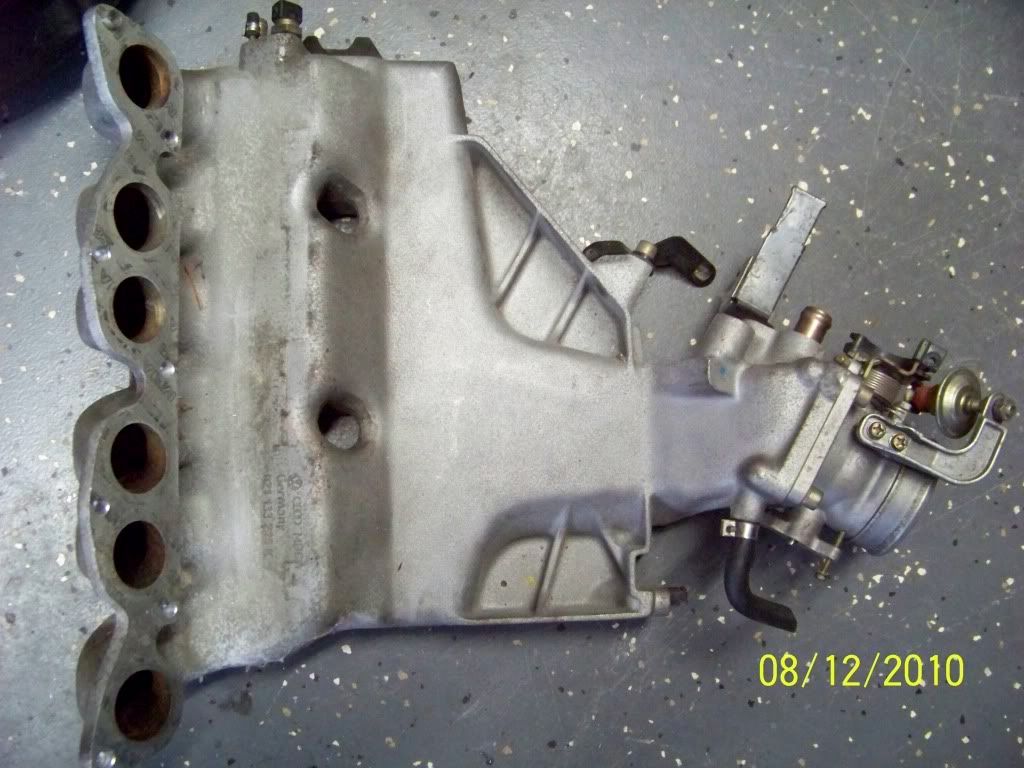
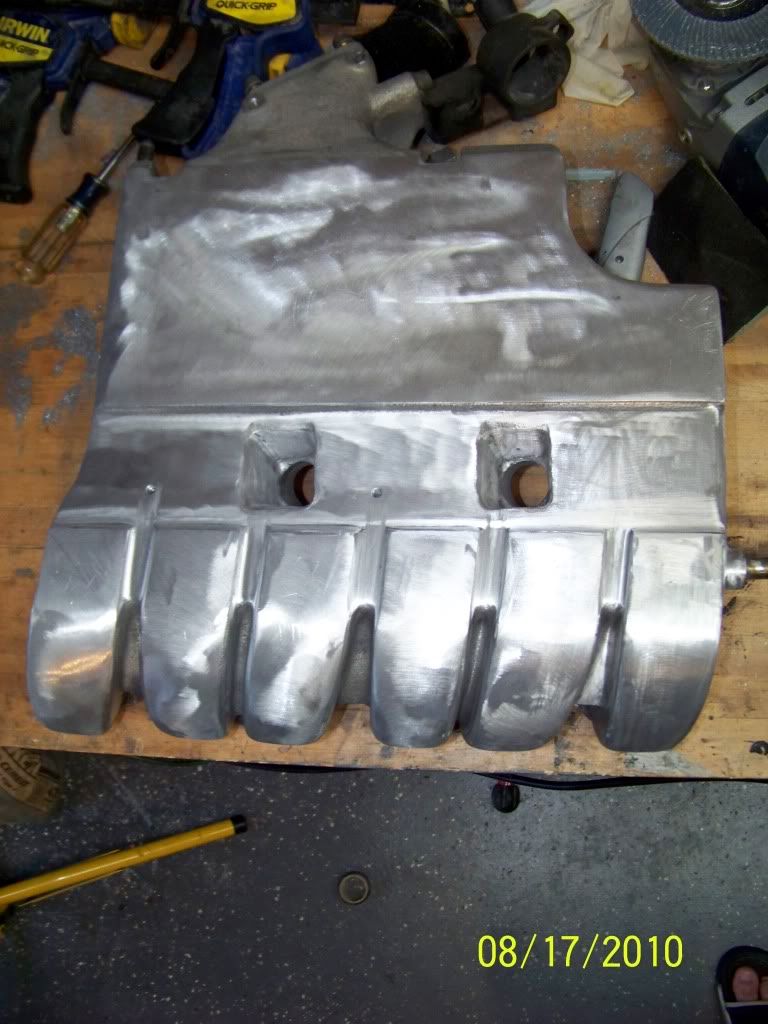
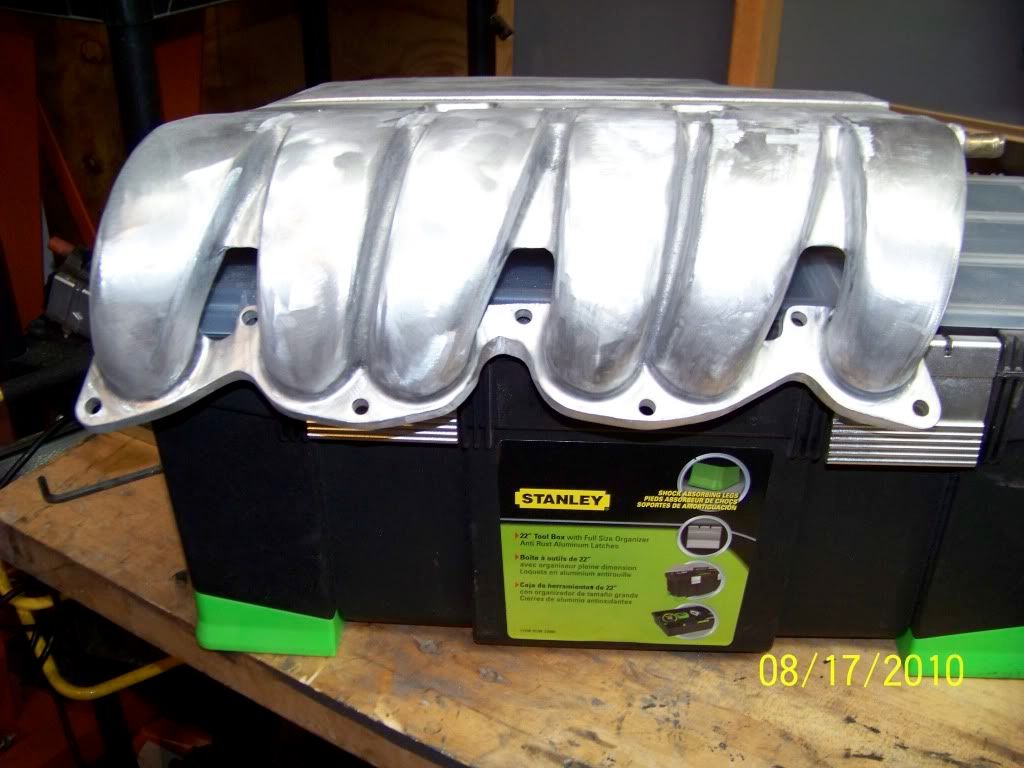
So While I have been waiting to pick up the engine from the shop, I started to polish the intake manifold. I don't know what I was thinking this is a really long process that is no where close to being done. I almost said screw it and just use another upper intake manifold, but I've found out that somehow this car has a 2.9 liter intake manifold from European VR6 engine.
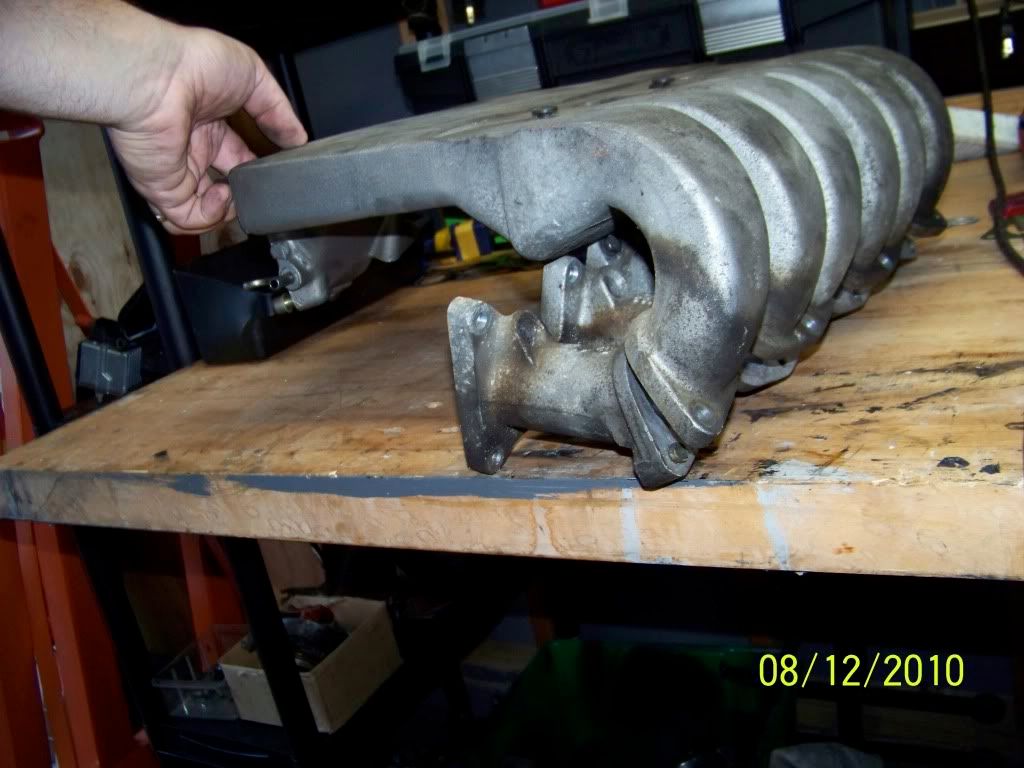
Here is the intake manifold from my red Corrado.
Here is the intake manifold from my '93 Corrado that all the American versions should have had.
Here is the progress on the polishing... Before
And where I'm at with it now...
Tuesday I picked up the engine from the shop and talked with the owner Tom. He reassured me the bottom end of the engine and the rotating assembly are in great shape and confirmed what little I know about the engine in that it did in fact have a bent valve.
Bringing 'her home.
Thanks to my good friend and neighbor Jerome I was able to get the engine on the stand.
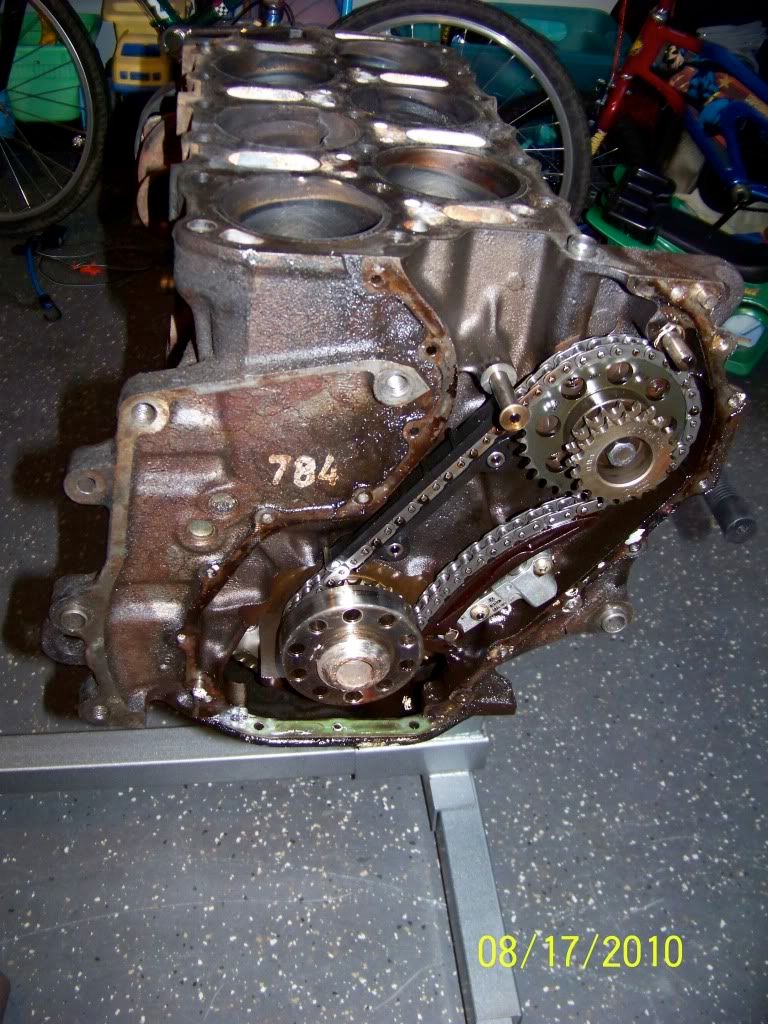
In this picture below you can see the culprit of the bent valves according to Tom. The bolt holding in the upper gear for the timing chain was loose and cause that gear to be loose enough to throw the timing off and valves went crashing into the pistons.
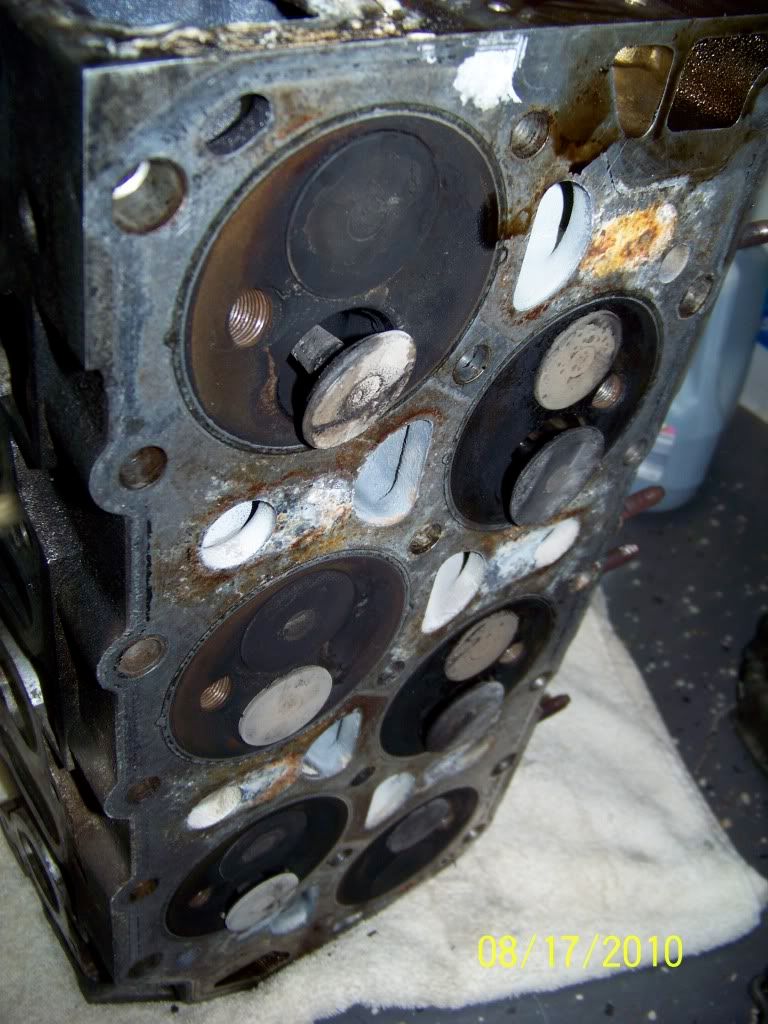
Here's the damage visually, there may be more; I will have to take the head to machine shop and see how it tests. There are at least 4 valves bent that I can see.
As usual more to come...
Here is the intake manifold from my red Corrado.
Here is the intake manifold from my '93 Corrado that all the American versions should have had.
Here is the progress on the polishing... Before
And where I'm at with it now...
Tuesday I picked up the engine from the shop and talked with the owner Tom. He reassured me the bottom end of the engine and the rotating assembly are in great shape and confirmed what little I know about the engine in that it did in fact have a bent valve.
Bringing 'her home.
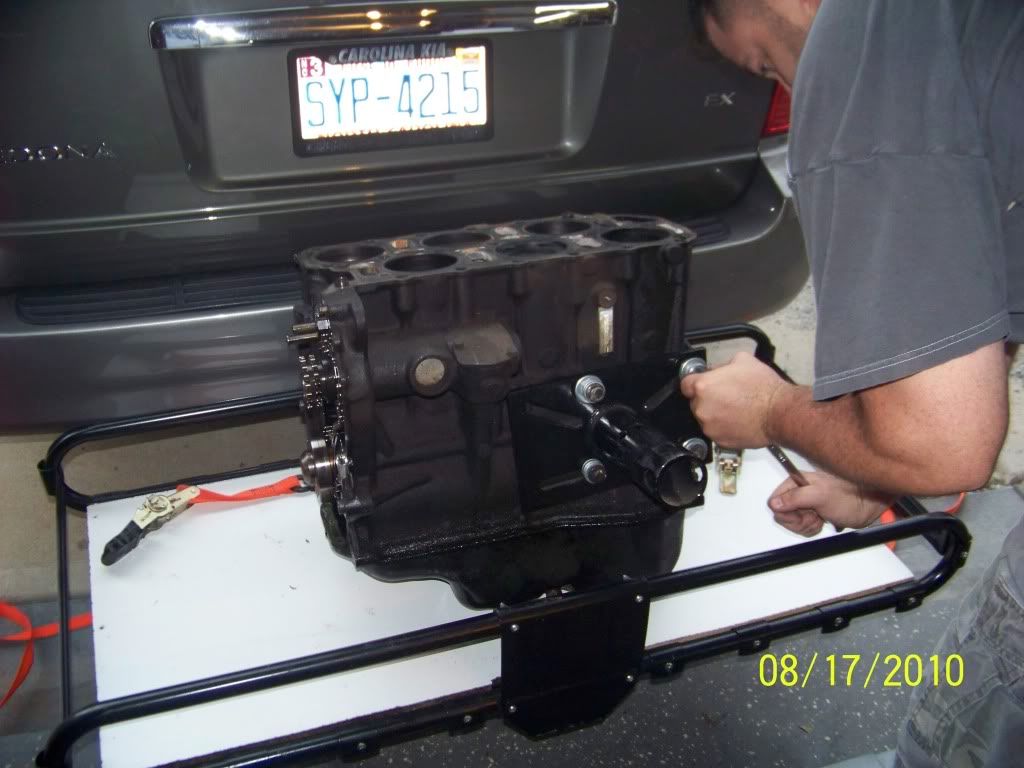
Thanks to my good friend and neighbor Jerome I was able to get the engine on the stand.
In this picture below you can see the culprit of the bent valves according to Tom. The bolt holding in the upper gear for the timing chain was loose and cause that gear to be loose enough to throw the timing off and valves went crashing into the pistons.
Here's the damage visually, there may be more; I will have to take the head to machine shop and see how it tests. There are at least 4 valves bent that I can see.
As usual more to come...
Subscribe to:
Posts (Atom)